
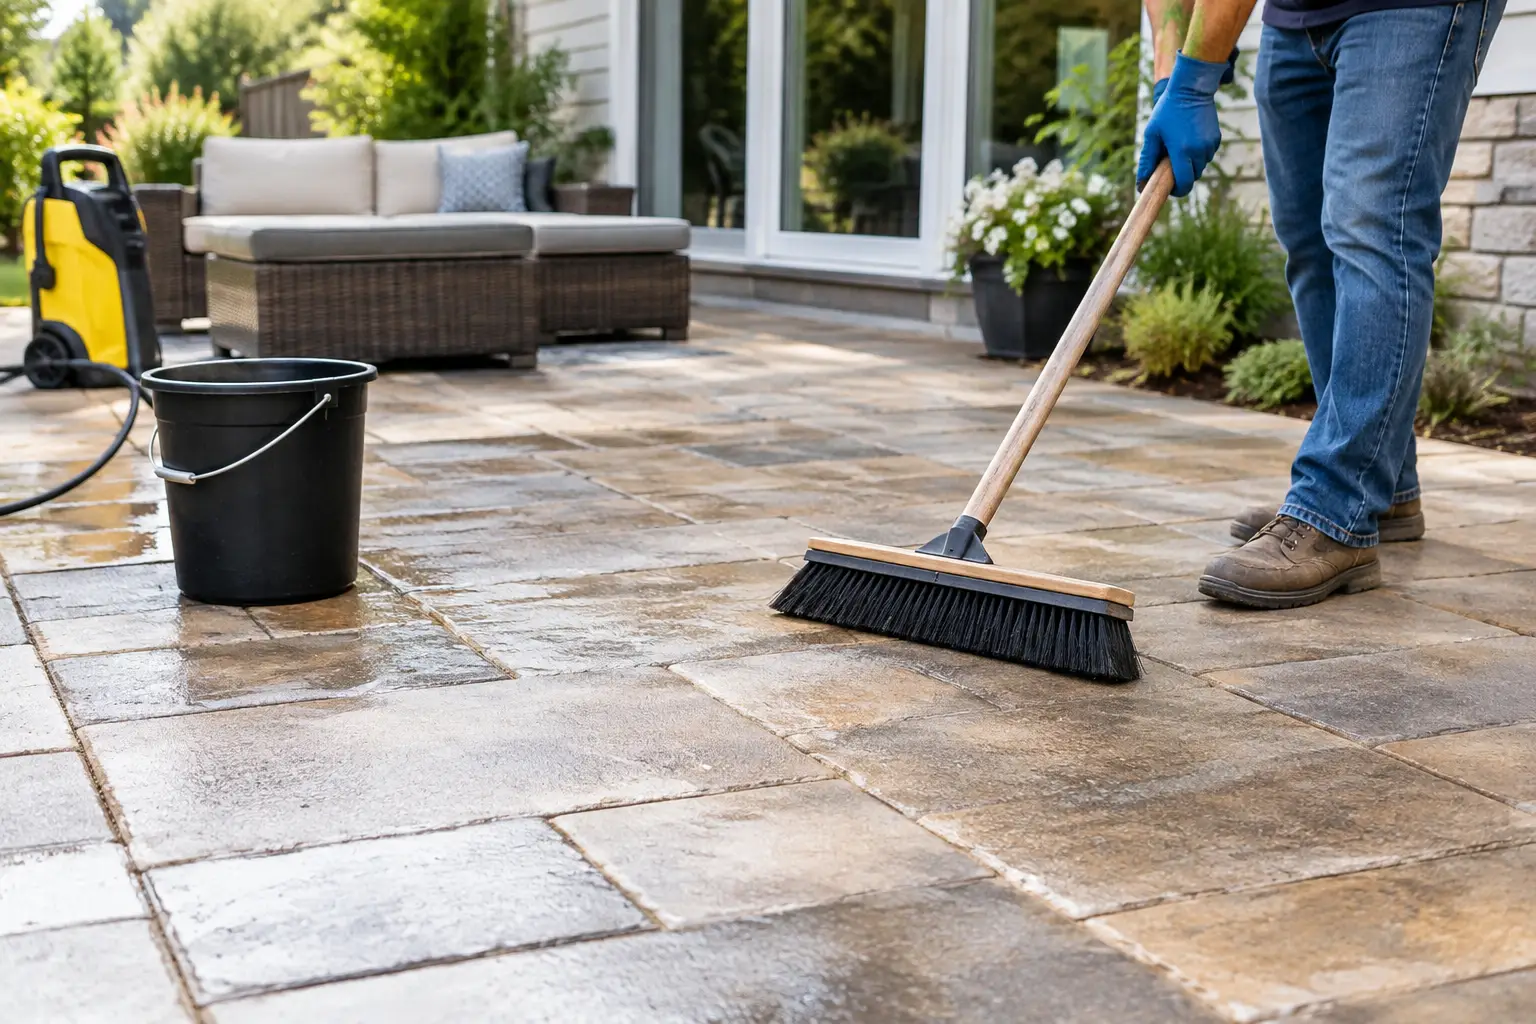
How to Prepare Patio for Sealing Properly
A patio sealer can improve color, reduce water absorption, and make routine cleanup easier, but it cannot hide dirt, lock down loose material, or fix moisture problems. To prepare patio for sealing the right way, the surface needs to be truly clean, structurally sound, and completely dry. In Asheville, Hendersonville, and throughout Western North Carolina, that takes a little more attention because mountain humidity, pollen, algae, and leaf debris can quickly work their way into concrete and paver surfaces.
Sealing is the finishing step, not the cleaning step. Taking shortcuts before application can leave you with a cloudy finish, trapped stains, peeling sealer, or an uneven sheen that is difficult to correct. A careful prep process protects the investment you have already made in your patio.
Start by Identifying Your Patio Material
Not every patio should be cleaned or sealed the same way. Concrete, pavers, natural stone, brick, and stamped concrete each have different porosity levels and different risks. Before selecting a cleaner or sealer, confirm what the patio is made from and whether it has been sealed before.
Plain concrete often benefits from a penetrating or topical sealer, depending on whether the goal is moisture protection, stain resistance, or a richer appearance. Pavers need special attention at the joints, where sand can wash out or weeds can take hold. Natural stone may need a stone-safe product that will not discolor or create a slick surface. Some dense stones and previously coated patios may need little sealing at all.
If water still beads tightly across the surface after cleaning, an existing sealer may still be present. Applying a new product over an incompatible old coating is one of the most common causes of hazy, peeling, or blotchy results.
Clear the Patio and Protect the Surroundings
Remove furniture, grills, planters, rugs, and decorations before cleaning begins. Sweep away loose leaves, pine needles, soil, mulch, and grit, especially along walls, steps, and edges. Organic debris holds moisture against the patio and can create staining beneath furniture or planters.
Take a look at nearby landscaping, siding, doors, and drainage areas. Cover or move sensitive items when appropriate, and avoid pushing dirty runoff into flower beds or toward the home. If a patio meets a foundation wall, make sure the area is graded and draining correctly before sealing. Sealer will not solve water that continually pools against the house.
Remove Algae, Mildew, Pollen, and Embedded Dirt
A patio can look fairly clean and still be covered with a thin film of algae, mildew, pollen, or old cleaning residue. That film prevents sealer from bonding evenly. In our humid climate, shaded patios are especially prone to green and black organic growth, often in corners, beneath trees, and along the north-facing side of a home.
Use a cleaner suited to the surface and the stain. A patio with organic buildup needs more than a quick rinse, while rust, fertilizer stains, grease, efflorescence, and leaf tannins may require different treatment methods. Do not assume that a stronger chemical or more pressure is automatically better. The wrong product can etch concrete, discolor stone, damage nearby plants, or weaken paver joint sand.
Pressure washing can be effective when it is performed with the right equipment, pressure, nozzle, and technique. However, excessive pressure can leave lines in concrete, expose aggregate, chip soft stone, and blow sand out of paver joints. Surface-safe cleaning is especially valuable for decorative concrete, older patios, flagstone, and areas with heavy biological growth.
For homeowners who want the hassle taken out of the job, a trained exterior cleaning crew can remove buildup without treating every patio like a driveway. WNC Wash Pro’s uses professional cleaning methods designed to restore exterior surfaces safely before sealing work begins.
Treat Stains Before Applying Sealer
Sealer can darken or make existing stains more noticeable, particularly on light-colored concrete or porous pavers. Once a stain is sealed in, removal may require stripping the coating later.
Inspect the patio after the main cleaning while the surface is still damp, then again once it dries. Look for oil spots around grills, orange rust marks under furniture, white mineral deposits, black mildew staining, paint drips, and dark leaf stains. Address each issue with the appropriate process rather than covering it and hoping the sealer will disguise it.
Make Repairs Before You Seal
Sealer helps protect a sound surface, but it is not a crack filler or adhesive. Walk the patio slowly and look for cracks, flaking concrete, loose pavers, broken edges, failing mortar, and settled areas that collect water.
Small concrete cracks may be repairable with a compatible filler, but the repair must cure fully and may still show after sealing. Larger cracks, heaving, or broad areas of spalling can point to movement or drainage issues that deserve professional evaluation first. Sealing over damaged concrete may keep moisture out temporarily, but it will not stop an underlying failure.
For paver patios, replace cracked units, reset any rocking pavers, and restore joint sand after cleaning. If you are using polymeric sand, follow the manufacturer’s installation and curing instructions carefully. Sealing too soon after sanding can interfere with the joints, while sealing with empty joints leaves the patio more vulnerable to shifting and weed growth.
Rinse Thoroughly and Let the Patio Dry Completely
Cleaning residue is a quiet cause of sealer failure. Rinse the patio thoroughly so no detergent, stain treatment, dirt slurry, or loose debris remains in pores, joints, or low spots. Pay extra attention around steps, expansion joints, borders, and the base of walls where runoff tends to collect.
Then give the patio time to dry. This is not a step to rush. Most sealers need a dry surface, and some require a specific moisture level for proper adhesion. A patio may feel dry on top while holding moisture deeper in the concrete, beneath pavers, or in shaded joints.
Drying time depends on the material, temperature, humidity, shade, overnight dew, and recent rain. In Western North Carolina, a warm afternoon does not always mean a patio is ready by evening. Concrete often needs at least 24 to 48 hours of dry weather after cleaning, and dense shade or high humidity can extend that window. Always follow the sealer manufacturer’s instructions, especially for natural stone and decorative finishes.
Choose the Right Weather Window
The best sealing day is dry, mild, and predictable. Avoid sealing when rain is expected before the product has cured, when temperatures are outside the product’s recommended range, or when direct sun is making the surface excessively hot. A hot patio can cause sealer to flash dry, leaving lap marks or uneven absorption.
Morning dew also matters. Even if the forecast is clear, wait until moisture has evaporated from the surface. If the patio is under trees, check for falling leaves, pollen, sap, and acorns that could land in fresh sealer.
Keep people, pets, furniture, and vehicles off the patio for the full cure time. Dry to the touch is not always fully cured. Moving furniture back too early can leave permanent impressions or pull coating from the surface.
Perform a Final Inspection Before Sealing
Right before application, sweep or blow off any new debris. The patio should look clean from several angles, feel dry, and have no standing water or damp-looking areas. Check that repairs are cured, paver joints are stable, and stains have been addressed.
It also helps to test a small, inconspicuous area before committing to the entire patio. A test spot shows how the sealer changes the color and sheen, how quickly it absorbs, and whether the surface becomes slippery when wet. This is particularly wise with stamped concrete, colored concrete, brick, and natural stone, where appearance can change more than expected.
A well-prepared patio gives the sealer a clean, stable surface to do its job. Give the prep work the time it deserves, and your patio will be better positioned to handle rain, pollen, cookouts, and the everyday wear that comes with enjoying your outdoor space.