
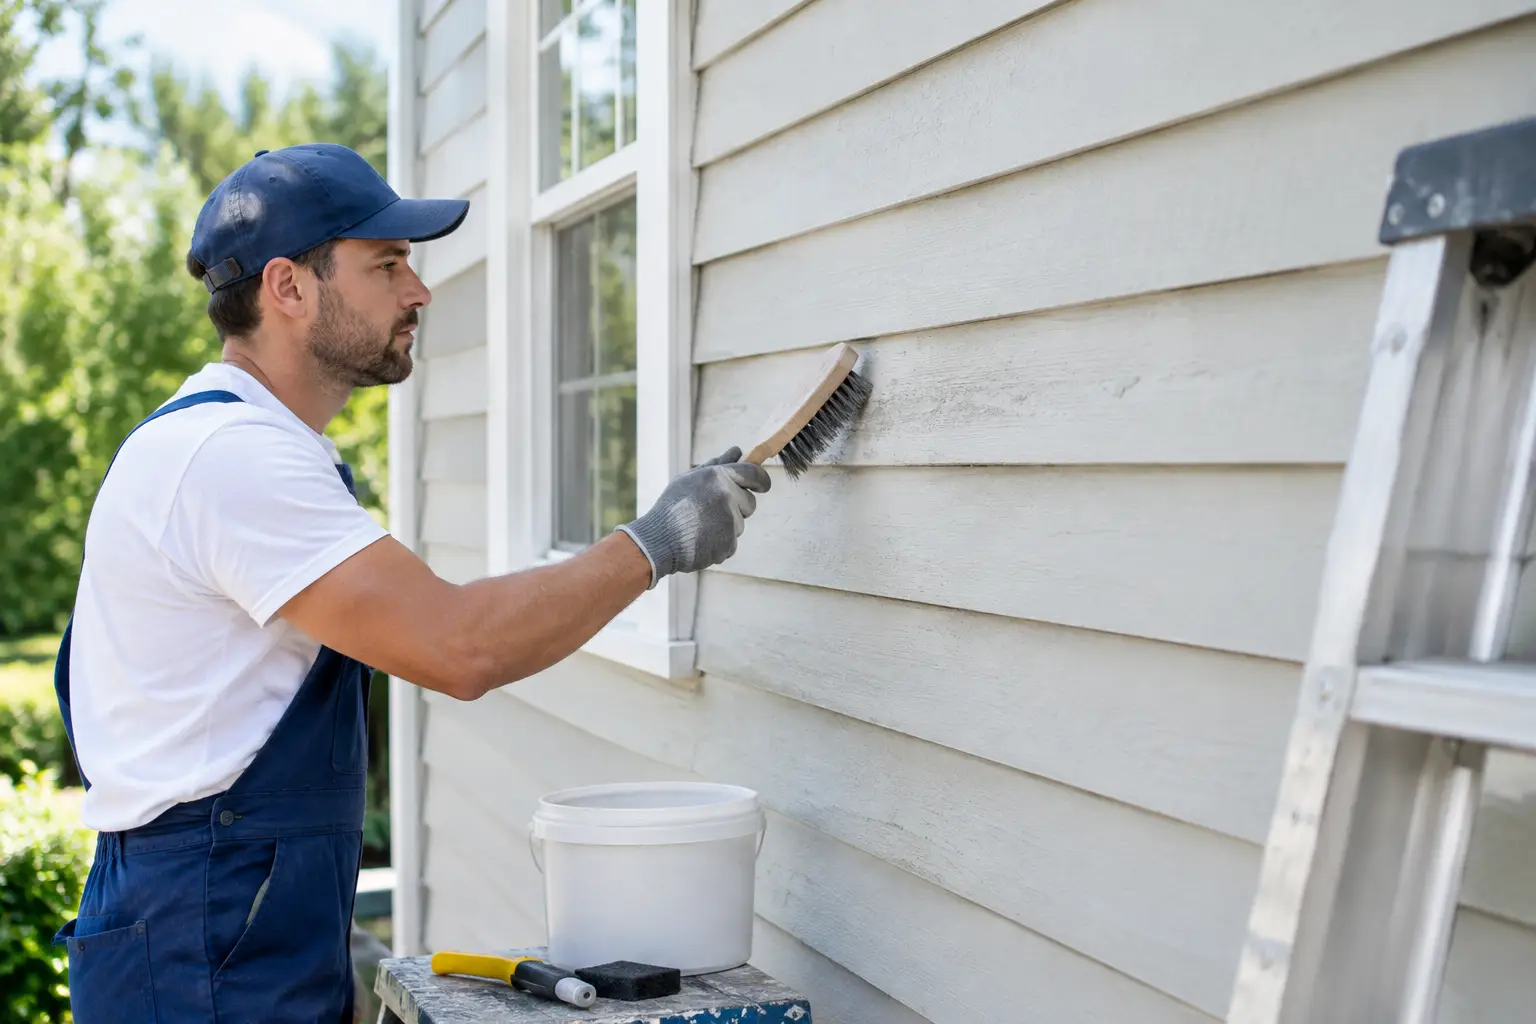
Prepare Exterior for Painting the Right Way
Fresh paint can make a home look cared for again, but paint cannot hide what is underneath it for long. In Western North Carolina, pollen, algae, mildew, moisture, and peeling coatings can quickly compromise a new finish. When you prepare exterior for painting with the right cleaning, repair, and drying process, the paint has a sound surface to bond to and a much better chance of lasting.
For many homeowners, the painting itself is the visible part of the job. Preparation is where the real protection happens. A clean, dry, stable surface helps prevent early peeling, bubbling, stains bleeding through, and uneven color. It also gives you a chance to spot small exterior problems before they become costly repairs.
Start With a Close Exterior Inspection
Walk around the property before anyone washes, sands, or opens a paint can. Look at siding, trim, soffits, fascia boards, shutters, porch rails, decks, fences, window frames, and masonry. Pay extra attention to shaded walls, rooflines, gutters, and lower sections of siding where moisture and organic growth tend to collect.
You are looking for more than faded paint. Loose or flaking coating, cracked caulk, soft wood, rust stains, nail pops, damaged flashing, open joints, and mildew all need attention before painting begins. If paint is failing in one concentrated area, find out why. A downspout that overflows, a clogged gutter, a leaking window, or vegetation pressed against the wall can keep that surface damp and cause the new paint to fail again.
On older homes, be careful with paint that may contain lead. Homes built before 1978 may have lead-based coatings beneath newer layers. Do not dry-sand, scrape aggressively, or use methods that create airborne dust until the surface has been evaluated and the proper safety practices are in place.
Clean the Surface Before You Prepare Exterior for Painting
Paint needs direct contact with a clean surface. Dirt, chalky residue, pollen, cobwebs, algae, mildew, and oxidation create a barrier between the substrate and the new coating. Even a wall that appears clean from the driveway may have a thin film that affects adhesion.
The right cleaning method depends on the material and the condition of the property. Vinyl siding, painted wood, stucco, brick, and delicate trim should not all be treated the same way. High pressure can force water behind siding, scar wood, etch softer masonry, and remove sound paint that did not need to come off.
For most exterior surfaces, soft washing is the safe alternative. It uses low pressure with an appropriate cleaning solution to break down organic buildup rather than blasting it away. This approach is especially useful for homes in Asheville and surrounding mountain communities, where shade, humidity, and seasonal pollen create ideal conditions for green algae and mildew.
A professional exterior cleaning crew can determine whether soft washing, controlled pressure washing, hand cleaning, or a combination of methods is appropriate. WNC Wash Pro’s uses surface-safe cleaning practices designed to remove buildup without causing unnecessary damage to siding, wood, roofing, or other valuable exterior materials.
After cleaning, inspect the surface again. Chalky paint should be thoroughly rinsed until it no longer leaves a powdery residue on your hand. Stubborn mildew staining may need another treatment. Painting over active organic growth is never a shortcut. It allows the problem to remain trapped beneath the coating.
Protect Landscaping and Nearby Surfaces
Preparation should improve your property, not create another weekend of cleanup. Cover or move outdoor furniture, protect light fixtures, and keep paint supplies away from patios, driveways, and landscape beds. Shrubs and flowers near the home should be pre-watered and protected during washing and painting.
Close windows and doors before cleaning. If you have exterior outlets, cameras, decorative hardware, or unfinished wood features, point them out before work begins. A little planning prevents avoidable overspray, water intrusion, and staining.
Let Everything Dry Completely
A freshly washed exterior is not ready for paint simply because it looks clean. It must also be dry. Moisture trapped in wood, siding seams, trim joints, or masonry can lead to blistering, peeling, and premature paint failure.
Drying time depends on the surface, weather, shade, and recent rainfall. In the humid mountain climate, a shaded north-facing wall can stay damp much longer than a sunny wall. Wood often needs more drying time than vinyl or metal, and porous masonry can hold moisture below the surface even when it feels dry to the touch.
Most painting contractors will check moisture levels in wood before applying primer or paint. This is a worthwhile step, particularly around windows, trim, decks, fascia boards, and areas that previously showed rot or mildew. Do not rush the schedule because rain is forecast or because the surface looks dry from a distance. Waiting for proper conditions costs far less than repainting a failed finish.
Repair What Paint Cannot Fix
Paint is a protective coating, not a structural repair. Once the exterior is clean and dry, scrape loose paint and feather the edges where old coating meets bare material. The goal is not always to strip every wall to bare wood. Sound, well-adhered paint can often remain in place after proper cleaning and surface preparation.
Replace soft or rotted wood rather than coating over it. Repair loose trim, secure raised nails, and fill small exterior holes with a quality exterior filler. Caulk gaps around windows, doors, trim boards, and penetrations where water can enter, but do not caulk areas that are designed to drain or ventilate. Siding weep holes, for example, need to remain open.
Rust also deserves special attention. On railings, metal doors, fasteners, and other steel surfaces, remove loose rust and treat the remaining area with a compatible rust-inhibiting primer. If you simply paint over active rust, it can continue spreading underneath the new finish.
Prime Bare and Problem Areas
Primer is not always required over a stable, previously painted surface when the new coating is compatible. Bare wood, exposed metal, patched areas, raw masonry, and heavily stained sections are different. These areas commonly need the right primer to create a consistent base and prevent stains or tannins from showing through.
Use a primer recommended for the specific surface and paint system. Wood primers, masonry primers, metal primers, and stain-blocking primers are made for different jobs. Matching products matters just as much as choosing a good paint color.
Primer can also help after extensive scraping. It evens out porosity between bare spots and old paint, which reduces flashing and helps the finish coat look uniform. If the exterior has stubborn discoloration from water, smoke, rust, or tannin bleed, address it before applying the final color.
Choose the Right Weather Window
Exterior paint is sensitive to temperature, humidity, direct sun, rain, and overnight dew. Read the manufacturer’s requirements for the paint you plan to use, then check the forecast for more than the afternoon you intend to start. The coating needs enough time to cure before rain or heavy condensation arrives.
Avoid painting surfaces that are hot from direct sun. Paint may dry too quickly on the surface, making it harder to maintain an even edge and proper bond. On the other hand, painting too late in the day can expose the fresh coating to evening moisture before it has set.
Spring and fall can be excellent painting seasons in Western North Carolina, but conditions change quickly in the mountains. A dependable painter plans around the specific exposure of the home, not just the calendar. The sunny front elevation may be ready while the shaded back side needs another day.
Do Not Forget Gutters, Roof Edges, and Drainage
A new paint job will not stay attractive if water is constantly running over the walls. Before painting, clear gutters and downspouts, confirm that downspouts discharge away from the foundation, and look for leaks at roof edges. Remove leaves and debris that hold moisture against fascia boards and trim.
Tree limbs and dense shrubs should be trimmed back from siding where practical. Good airflow helps surfaces dry after rain and reduces the damp, shaded conditions that feed algae and mildew. This is one of the simplest ways to protect both your paint and your home’s exterior between maintenance visits.
A properly prepared exterior makes the painting process easier, but more importantly, it protects the investment you make in the finished result. Give the home time to get clean, dry, repaired, and ready. That careful work is what lets a fresh coat of paint look sharp long after the brushes and ladders are gone.